How to Make a Palm Cross for Palm Sunday
Free Shipping orders over $49

Palm crosses are a fun activity. Whether you want to make them for a craft project or a church event, this guide will show you exactly how to fold a palm cross from palm fronds.
If the palm frond is too wide, you can trim it to about 1/2 inch in width to make folding easier. If one end of the frond is too skinny, you can cut off the excess to make it easier to work with.
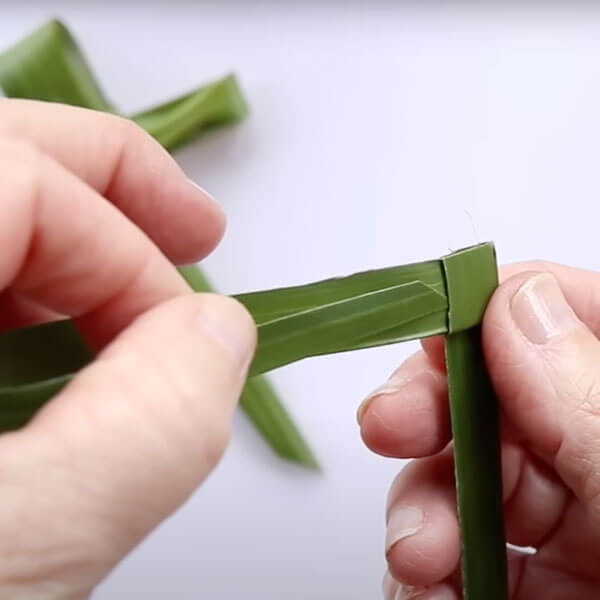
Touch both ends of the palm frond together to find your center, but instead of creasing the fold in half, make a 90-degree angle.
Now, bring the bottom arm up and over the center to form an "L" shape.
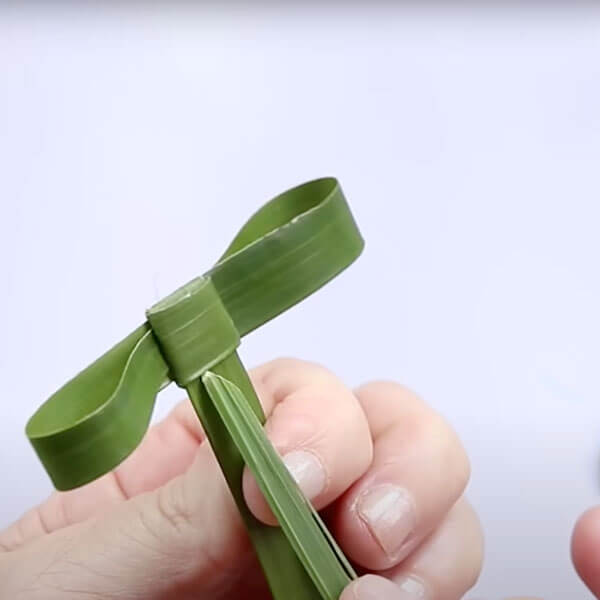
Bring that same arm back down and around the center, almost as if you are wrapping it. This should create a little "square"—hold it tightly so it doesn’t come undone.
Take the other arm on the side and fold it around the back of the middle square. There should be a little pocket in the center square—pull this arm through that pocket and tighten it. Now everything should be held in place.
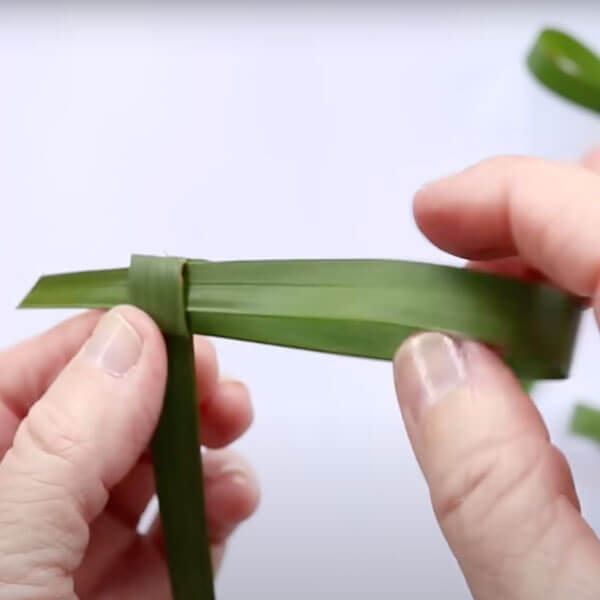
Take that same arm you just slid through the center pocket and bring it back through the middle. There should be a visible slot for you to pull it back through. Do not pull it tight yet—this is forming one arm of the cross.
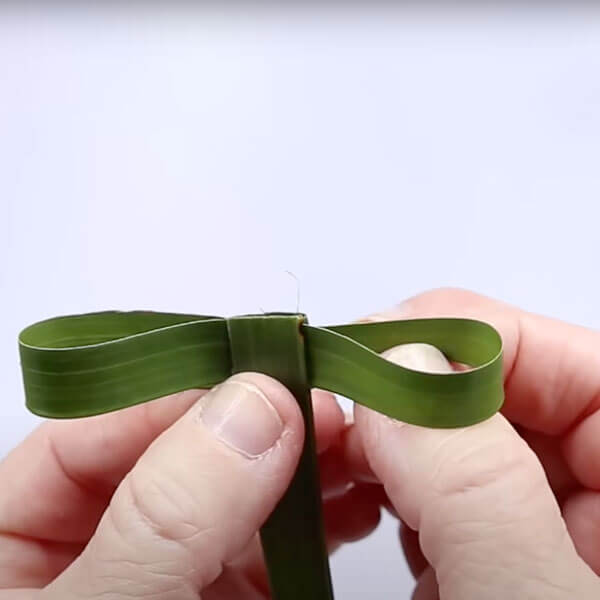
Take the excess you just pulled through the center and loop it back into the middle once more. At this point, your palm frond should look like a "T" with two loops on either side of the center forming the arms of the cross.
Take the tip of the bottom arm and fold it up and through the newly created pocket in the center of the cross. Pull it gently to maintain the structure. Once you've done this, it should form the loop that makes the top of the cross, revealing your completed creation!

Palm crosses are often handed out on Palm Sunday as a reminder of Jesus’ triumphant entry into Jerusalem. Many people keep them throughout the year as a symbol of faith. Some churches encourage the return of palm crosses to be burned for Ash Wednesday ashes.
If you’d like a visual demonstration, check out this easy-to-follow tutorial from Community Christian Church in Fairfield TWP, Ohio:
If you're looking for fresh palm fronds to make your own crosses, you can find high-quality palm strips, fresh fan palm branches, and palm ash here. We also offer pre-made palm crosses for those who prefer a ready-to-use option.
We hope this guide has been helpful to you. May your Easter season be blessed and filled with the glory of Christ's resurrection!
Concordia Rewards
Earn points every time you shop.
Our Mission
At Concordia Supply, it is our mission to equip churches and ministry leaders with high-quality Christian resources that transform lives for Christ.